Lunar
Model kit build-up part III
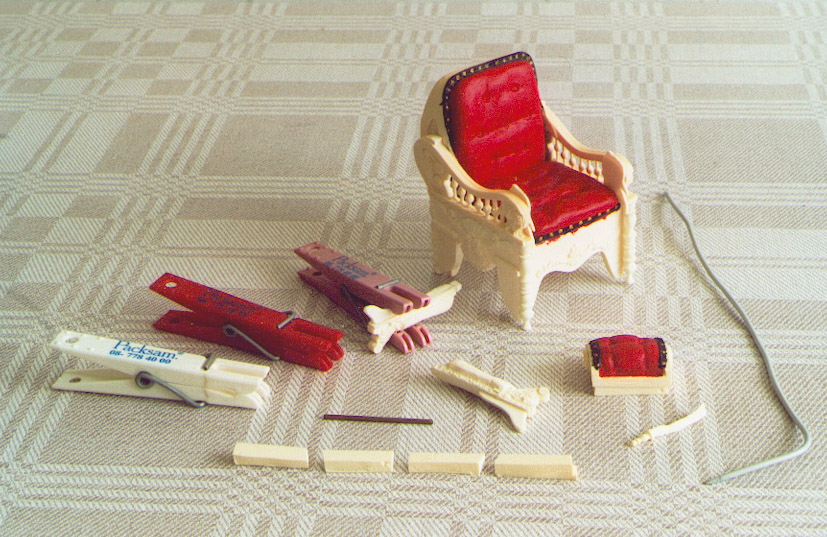
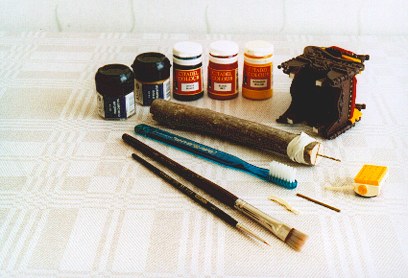
It is good to have clothespins
to hold small glued pieces together.
The long "leftover"
piece of resin is now divided in four pieces
for the inside legs of the chair - reinforcements which is also found in the
original Time Machine movie prop chair, because that one is made of an old barber
chair, and its original "legs" were too small to hold any weight of
the sitting time traveller. It is because the barber chair in original had a
cylindrical pedestal underneath, which function was to hoist up or low down
the chair while the customer was sitting in it, for the comfort of the barber.
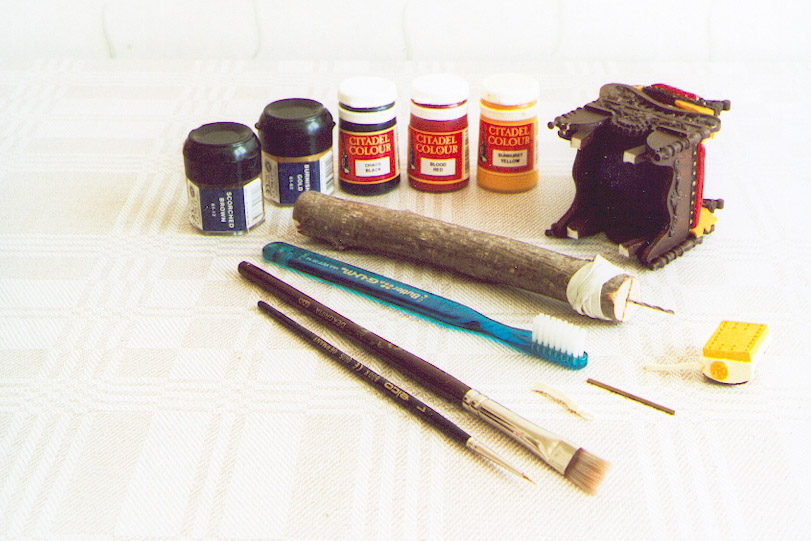
Now i have glued the four legs
at the underside of the chair.
For the pins for the headrest I drilled
small holes with the home-made drill I made of a drill-bit, a woodstick and
a rubberband. For cleaning the model chair before painting I use an old toothbrush
and water with dish-washer soap.
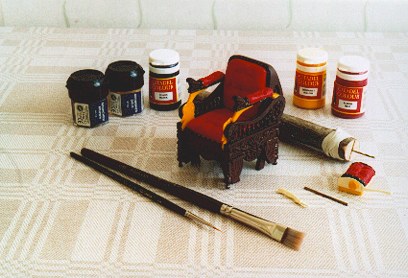
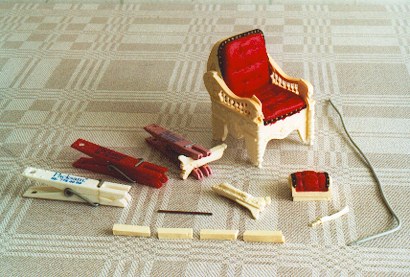
Here is the almost complete chair
only the headrest is missing. And some
of the paint is still missing too. I have used Scorched Brown, Blood Red and
Chaos Black and the rivets and ornaments are painted with Burnished Gold with
Sunburst Yellow underneath.
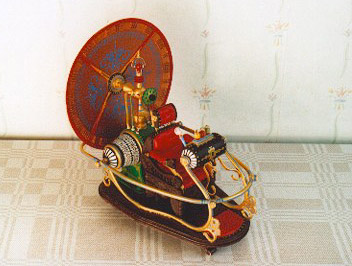
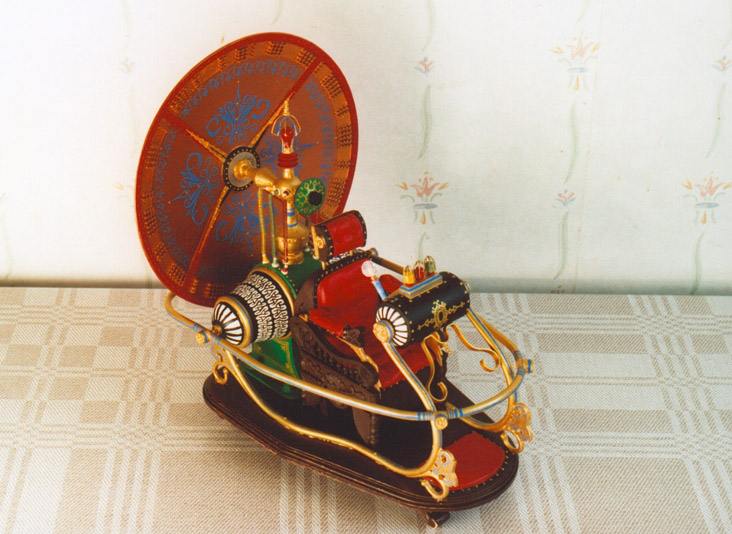
And here is my complete Lunar
Time Machine model kit!
At last it is finished, and I am very
satisfied with it!
Click on the images to enlarge them
Time
Machine Model kit builder and painter: Sandra Petojevic
Summer, 2007
(updated February 5, 2012)
To
my Poor man's Time Machine Model
Back to what if
Back
to Time Machine models